
“Which shade goes first? Where does the shimmer go? Why does my eyeshadow look muddy by the time I’m done?”
If you’ve asked yourself any of that, you’re in good company — it’s close to word-for-word what most new students say in their first practical session at Alondra Academy. Eyeshadow feels complicated because there are several small decisions happening at once: shade, placement, brush, pressure. Once you understand what each one is doing, it stops being intimidating fast.
Want an instructor watching your brush technique instead of a screen? Book time with our team →
It’s Not About Owning the Right Palette
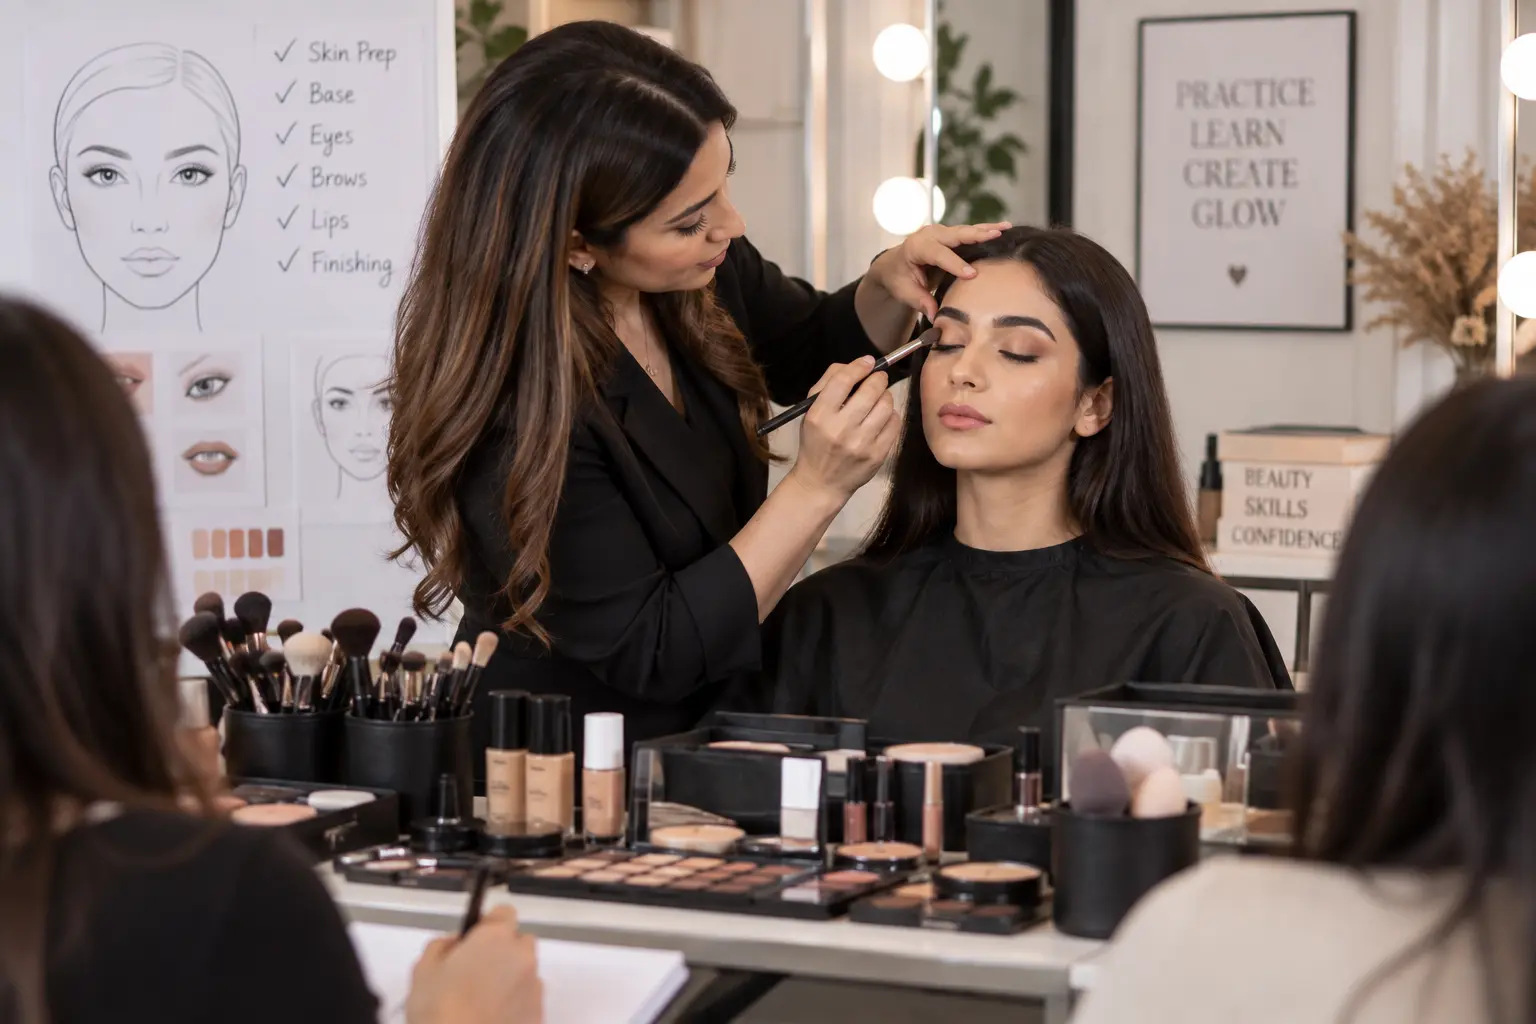
New students often assume the secret is buying a better palette. It isn’t. Professional artists reuse the same handful of shades constantly — what changes is placement and blending. That’s the entire focus of the eye modules inside our makeup course, where students practise shade placement on real models long before they ever touch a paying client.
What You Actually Need
- Eyeshadow primer (or a thin layer of concealer set with powder, in a pinch)
- A neutral palette with both matte and shimmer shades
- A fluffy blending brush
- A flat shader brush for pigment payoff
- A small detail brush for the outer corner
- A clean brush kept aside purely for blending
Good brushes make a noticeably bigger difference than an expensive palette — it’s usually the first upgrade we point new students toward.
The Five Zones of the Eye
Understanding where each shade goes solves most of the confusion.
Transition shade — a soft, matte tone just above the crease, only one or two shades darker than your skin. Its job is to create a bridge so nothing looks harshly separated.
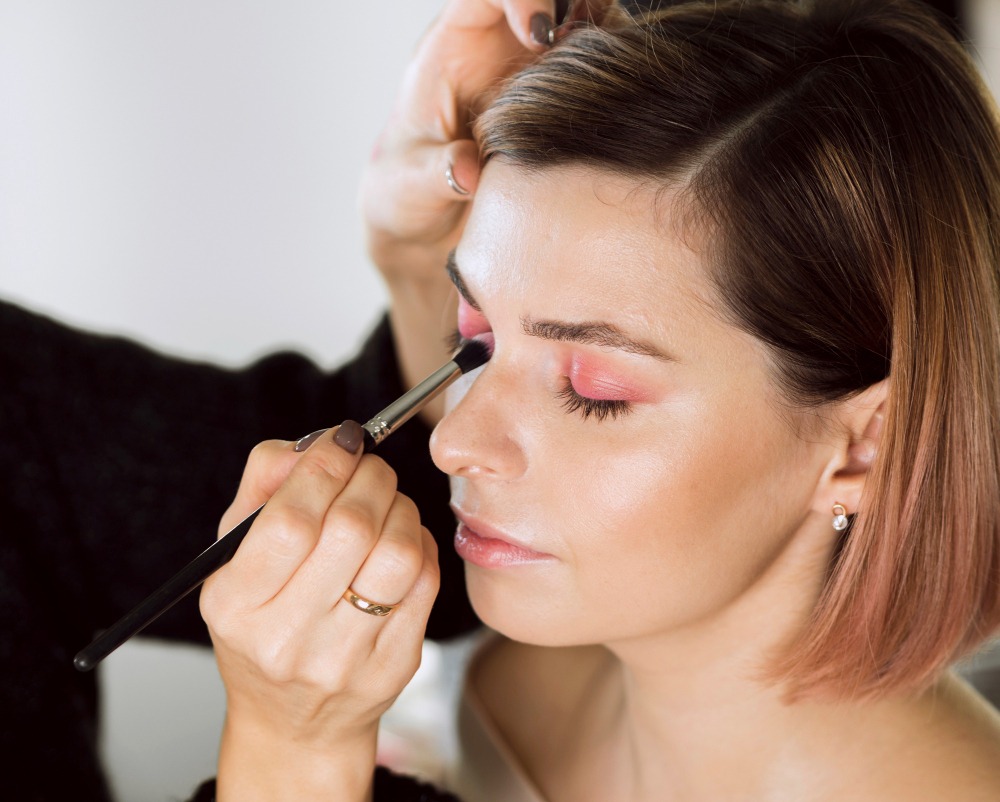
Crease — applied directly into the natural fold with a fluffy brush, using windshield-wiper motions and building gradually rather than packing it on in one go.
Outer corner (“the V”) — usually your darkest shade, blended into the outer third of the eye to create lift and depth without dragging too far toward the centre.
Lid — your main colour, pressed rather than swept on. Matte for daytime, shimmer or metallic for evening.
Inner corner / centre of lid — where shimmer goes, applied with a flat brush or fingertip for maximum pigment, to open the eyes up.
The Application Order
- Primer, left to set for a few seconds.
- Transition shade above the crease.
- Crease colour, built gradually.
- Outer corner, deepened with a smaller brush.
- Lid colour, pressed on rather than swept.
- Shimmer, at the centre and inner corner.
- A final blend with a clean fluffy brush until every edge disappears.
- Liner, mascara, and setting spray to finish.
Instructor aside: blend after every single layer, not just at the end. That one habit is the biggest visible difference between a self-taught look and a finished, professional one.
Where This Usually Goes Wrong
Skipping primer entirely · piling on colour before building it up gradually · never blending between layers · using one brush for every shade (a fast route to a muddy result) · going straight for a dark shade with no transition underneath it · applying shimmer across the whole lid instead of a targeted spot · ignoring the outer corner, which flattens the whole eye shape.
Keeping Eye Makeup Fresh in Dubai’s Climate
Heat and humidity are genuinely harder on eye makeup than most people expect. A few adjustments make a real difference:
- Never skip primer.
- Choose long-wearing or waterproof formulas where possible.
- Set concealer before eyeshadow goes on top of it.
- Build colour in thin layers rather than one heavy pass.
- Finish with a setting spray.
From First Practical to Paid Work
Technique is only half the story — what students do with it afterwards is the part we’re proudest of. Alondra Academy graduates work in salons and clinics across the UAE, freelance on weddings and shoots, and some go on to open their own studios. If you’re curious what that actually looks like, our Success Stories page outlines typical graduate paths.
Already comfortable with eye makeup and want to broaden your skill set? Many graduates move on to our semi-permanent makeup training or our Beauty Therapy Course to build a fuller beauty career.
Conclusion
Eyeshadow rewards understanding placement more than it rewards owning more products. Learn where the transition shade goes, build colour gradually, blend constantly rather than only at the end, and shimmer stops being a gamble. Once that clicks, everything from a soft daytime look to full evening glam becomes far more predictable.
Ready to build this properly, with feedback in real time? Talk to our admissions team about our makeup course →
FAQs
What order should eyeshadow go on in?
Primer, transition shade, crease colour, outer corner, lid colour, shimmer, then a final blend before liner and mascara.
Why does my eyeshadow look patchy or muddy?
Usually skipped primer, no transition shade, or the same brush used across multiple colours without cleaning it in between.
Where exactly should shimmer eyeshadow go?
The centre of the lid and the inner corner give the most noticeable brightening effect. A touch under the brow bone works too, used sparingly.
Can I combine matte and shimmer in one look?
Yes — most professional looks use matte for depth in the crease and outer corner, with shimmer reserved purely for highlighting.
How long does it realistically take to get comfortable with eyeshadow?
Most people build real confidence within a few weeks of regular practice — faster with an instructor correcting technique as you go rather than guessing from a video. Reach out if you’d like structured feedback on yours.
About the Author
Written with Alondra Academy’s practical makeup trainers in Dubai, based on recurring classroom corrections across bridal, editorial, and everyday eye makeup training. More on our instructors is available on our About Us page.