
Ask ten makeup artists what single product they’d never skip, and most will say concealer before they say foundation. It’s the product that decides whether a look reads as “tired” or “rested,” whether a blemish disappears or draws the eye, whether a bridal client looks flawless in photos taken at 4pm as much as at 9am.
The catch is that concealer is deceptively easy to use badly. Apply too much, choose the wrong shade, or skip the prep, and it settles into every fine line by lunchtime — especially in Dubai’s heat. This guide breaks down how our trainers actually teach concealer inside the practical rooms at Alondra Academy, not the shortened version you’ll find on a five-minute reel.
Prefer feedback on your own technique instead of reading about someone else’s? Get in touch with our team →
What Concealer Is Actually Doing on the Face
Foundation evens out tone across the whole face. Concealer’s job is narrower and more precise — it targets. Artists reach for it to:
- Neutralise dark circles
- Cover blemishes and pigmentation without disturbing the foundation around them
- Brighten specific zones — under the eyes, the centre of the forehead, the chin
- Sharpen the edge of a lip line or a wing of eyeliner
- Add subtle highlight and dimension to the bone structure
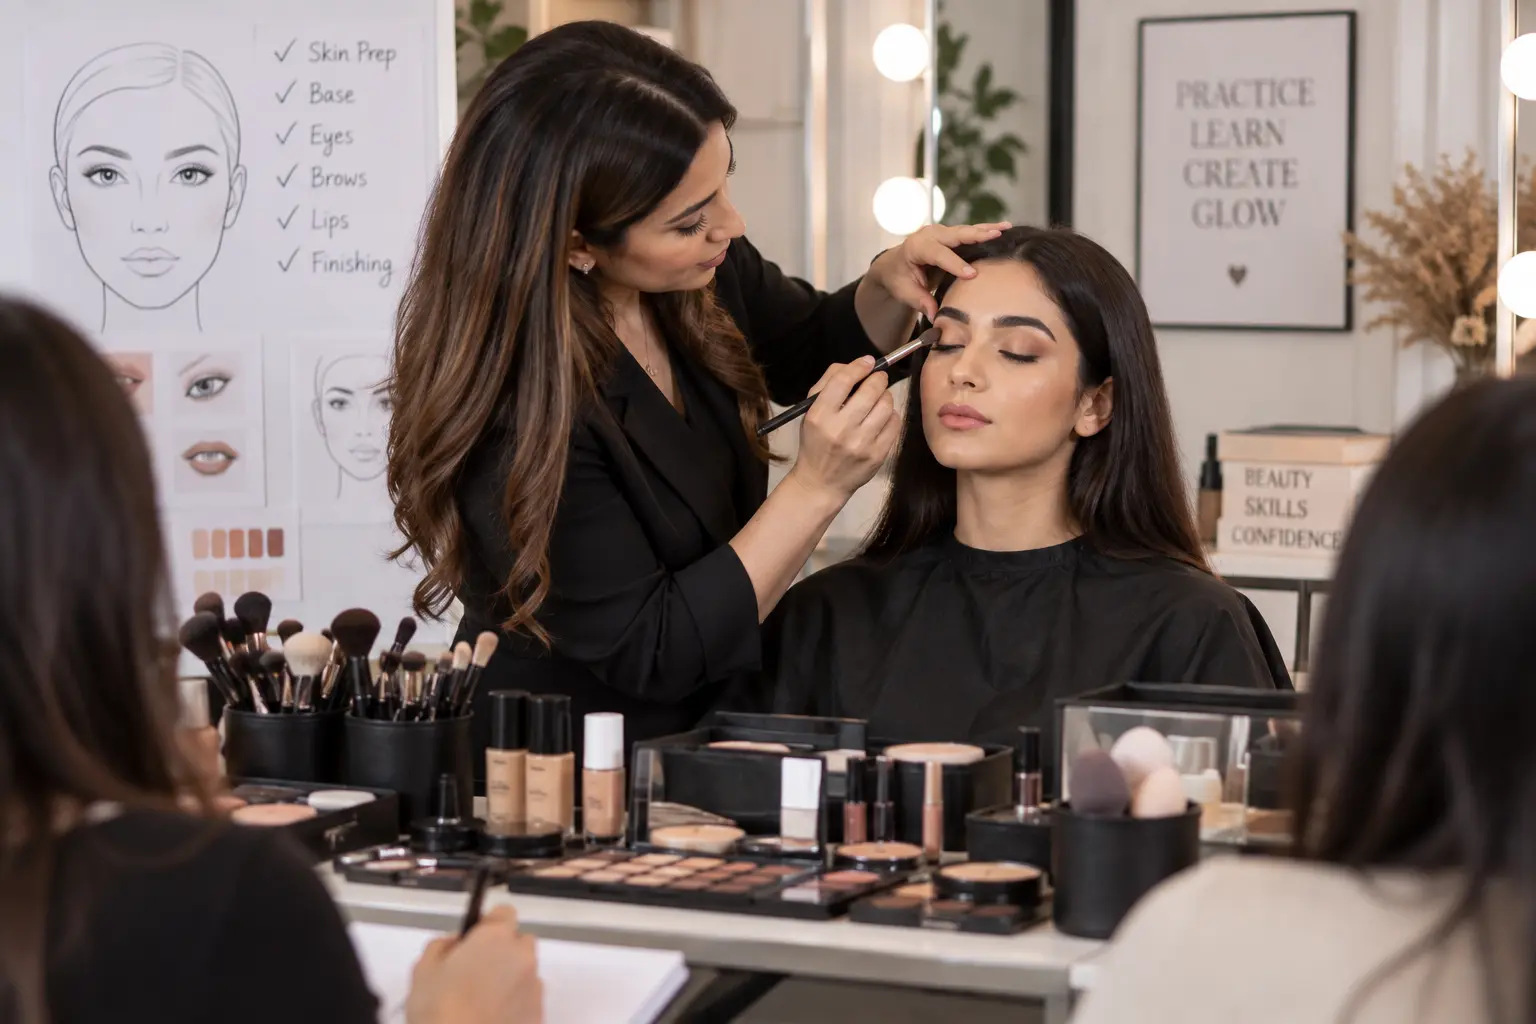
This is usually the first hands-on correction we make with new students — most arrive treating concealer as “extra foundation” rather than a sculpting tool. That distinction is something our makeup course spends real practical time on, with students working on live models rather than their own hand in a mirror.
Picking the Right Formula First
Technique only gets you so far if the formula fights against your skin. Before you touch a brush:
Liquid concealer — lightweight, blends easily, best for under-eyes and everyday wear.
Cream concealer — heavier coverage, holds up well for bridal work and stubborn pigmentation.
Stick concealer — built for speed: spot-concealing and touch-ups on the go.
Colour correctors — used underneath skin-tone concealer, not instead of it: peach cancels blue-toned darkness, green calms redness, yellow lifts dullness, orange handles deeper pigmentation on darker skin tones.
Trainer’s note: half of every new intake has never used a colour corrector before their first practical session. Once they see how much less concealer they need on top of one, they don’t skip the step again.
Five Techniques Our Trainers Repeat in Every Practical
1. Skin comes first. Cleansed, moisturised, primed skin is what stops concealer cracking or grabbing onto dry patches. This step gets rushed constantly, and it shows within an hour.
2. Start with less than you think you need. Beginners consistently overload the area. A thin layer that gets built up gradually blends better, wears longer, and looks like skin rather than makeup.
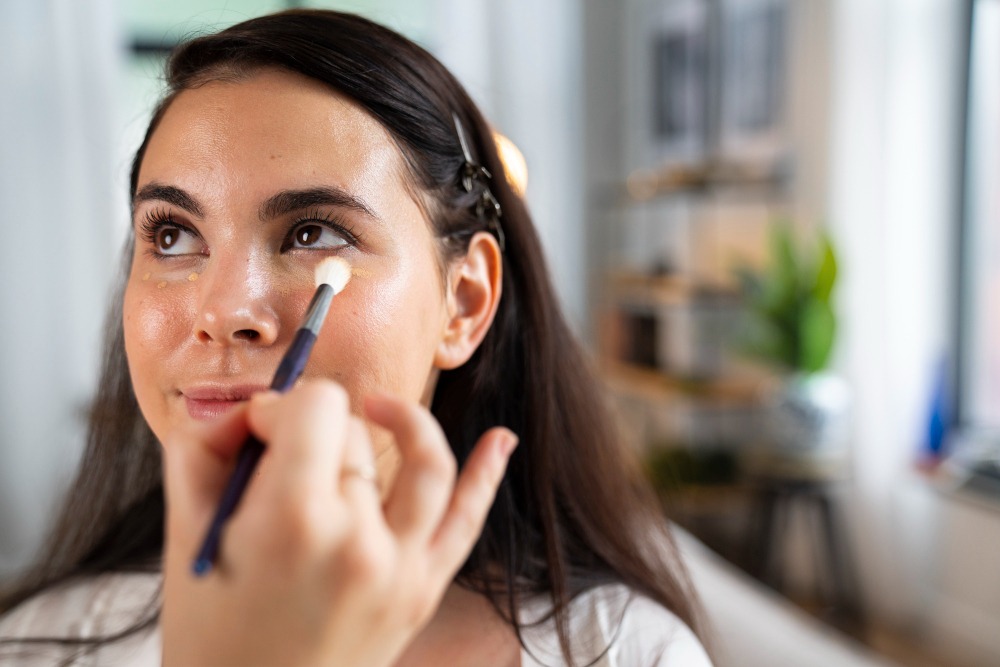
3. Place it only where the darkness actually is. Instead of covering the whole under-eye, work along the deepest shadow and the inner corner. It brightens without adding bulk to skin that doesn’t need it.
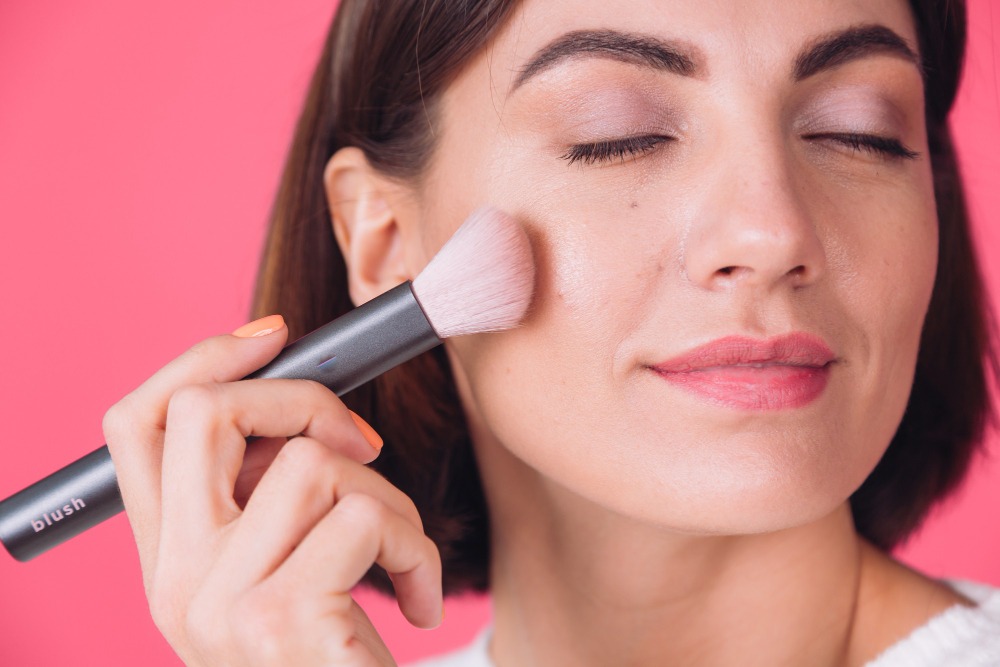
4. Press, don’t drag. A damp sponge, a soft brush, or a fingertip — used with a patting motion — keeps product in place. Dragging concealer across skin usually removes more than it deposits.
5. Go one shade lighter, not three. A concealer that’s dramatically lighter than your foundation photographs badly and looks obviously “made up.” One shade up is enough for genuine brightness.
A habit worth stealing: check your concealer shade against your jawline in daylight before you commit. Bathroom lighting is the single biggest reason students walk out with the wrong shade.
Matching the Technique to the Problem
Dark circles: peach corrector first, then a light layer of concealer, blended and set with a whisper of powder. Thick layers here almost always crease.
Blemishes: a small precision brush, tapped directly onto the spot, blending only the outer edge so coverage stays concentrated where it’s needed.
Hyperpigmentation: corrector, then concealer, blended and set in thin layers rather than one heavy pass — this is what avoids the “cakey” look over time.
Fine lines and mature skin: hydrating formulas only, applied minimally, blended immediately before the product has a chance to sit and settle into a crease.
The Under-Eye Routine, Step by Step
- Eye cream first, allowed to absorb.
- Peach corrector, if the darkness needs it.
- Concealer placed at the darkest point, not spread across the whole area.
- Blended outward with gentle pressure.
- Set with a fine, translucent powder.
Mistakes We Correct Every Term
Wrong shade selection · too much product · skipping moisturiser · skipping colour correction · dirty brushes or sponges · over-powdering · rubbing instead of tapping · using a formula that doesn’t suit the skin type.
None of these are complicated fixes — they just need someone watching your hand to point them out, which is the gap a video tutorial can’t close.
Where This Skill Can Take You
Concealer is often the first place students see their own progress — the jump from patchy and cakey to smooth and camera-ready happens fast, and it’s genuinely motivating to watch in a beginner class. Our graduates go on to work in salons and clinics across Dubai and the wider UAE, freelance on bridal and editorial bookings, and in a number of cases, build their own client base. You can see how that path typically looks on our Success Stories page, and get a fuller picture of what training covers on our makeup course page.
If you’re drawn to the broader beauty industry rather than just makeup, our Beauty Therapy Course covers skin prep and treatment work alongside colour correction, and graduates often go on to explore Skin Care Courses or our semi-permanent makeup training to round out a full beauty skill set.
Conclusion
Concealer rewards patience over product volume. Prepped skin, the right formula, a light hand, and blending that presses rather than drags — that combination is what separates a flat, cakey finish from one that photographs well at any hour. Whether you’re refining this for yourself or considering it as a career skill, guided correction gets you there faster than trial and error ever will.
Ready to have someone watch your technique in person? Speak with our team about our makeup course →
FAQs
Do I need a colour corrector, or can I just use concealer?
You can skip it, but you’ll need more concealer to get the same result, which increases the risk of a heavy, cakey finish. A corrector underneath means less concealer on top.
Why does my concealer crease under my eyes by the afternoon?
Usually one of three things: too much product, skin that wasn’t hydrated first, or setting powder applied too heavily. Thin layers and a light dust of powder solve most creasing.
Can I wear concealer without foundation?
Yes — many people use it alone for a lightweight, natural everyday look that still covers redness, dark circles, and blemishes.
Is cream or liquid concealer better for full coverage?
Cream formulas generally give more buildable, longer-wearing coverage, which is why they’re the standard choice for bridal work.
How do I know if I should learn this properly instead of from videos?
If you want an instructor correcting your sponge pressure and shade choice in real time — rather than guessing what went wrong — structured training closes that gap far faster. Get in touch if you’d like to talk it through.
About the Author
Written with Alondra Academy’s practical makeup trainers in Dubai, drawing on classroom coaching notes and recurring student corrections rather than general research. Learn more about our instructors on our About Us page.